Fixed anterior alignment using the ABB concept

Treatment carried out by Louisa Lawrence

Louisa qualified from The Turner Dental School, University of Manchester in 2001 and has worked in private practice in London for the past 13 years. She has completed extensive further training in orthodontics and cosmetic dentistry, having developed a special interest in minimally invasive techniques.

CONTACT INFORMATION

Market Hill Dentistry
6-8 Market Hill
Royston
SG8 9JL

Website: Click Here

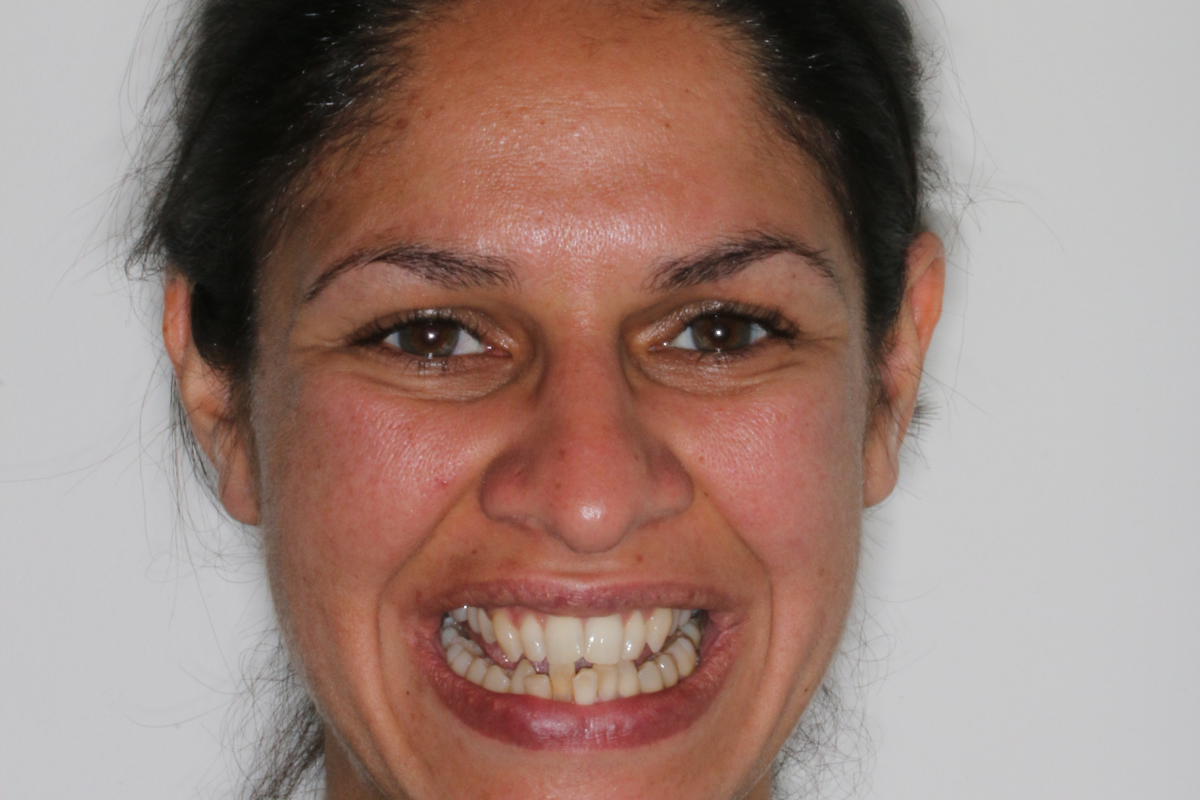
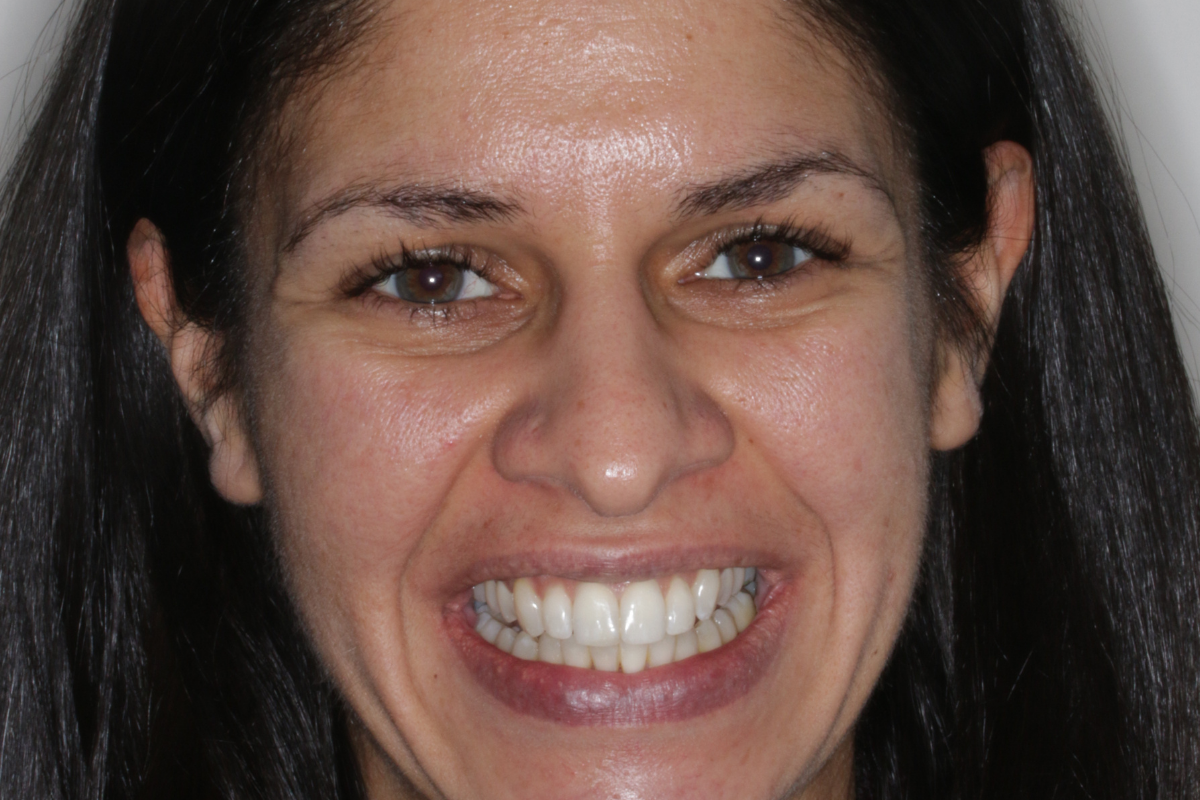
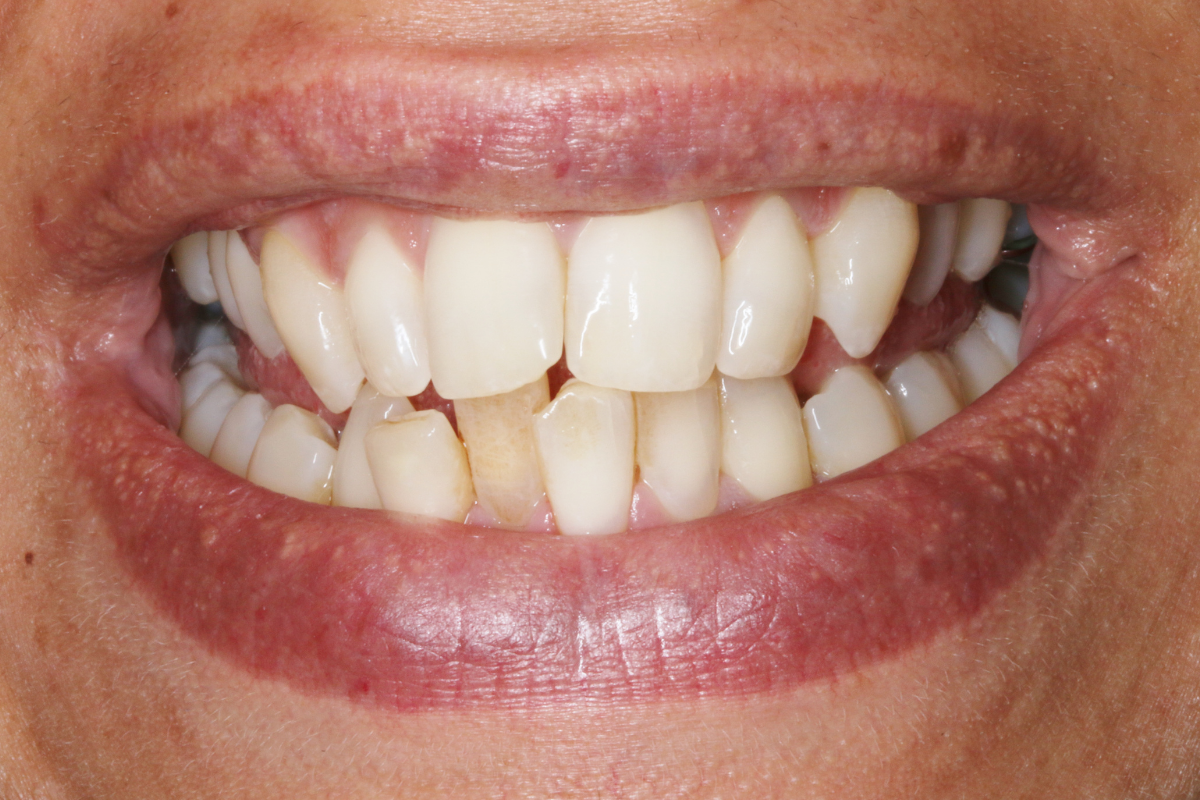
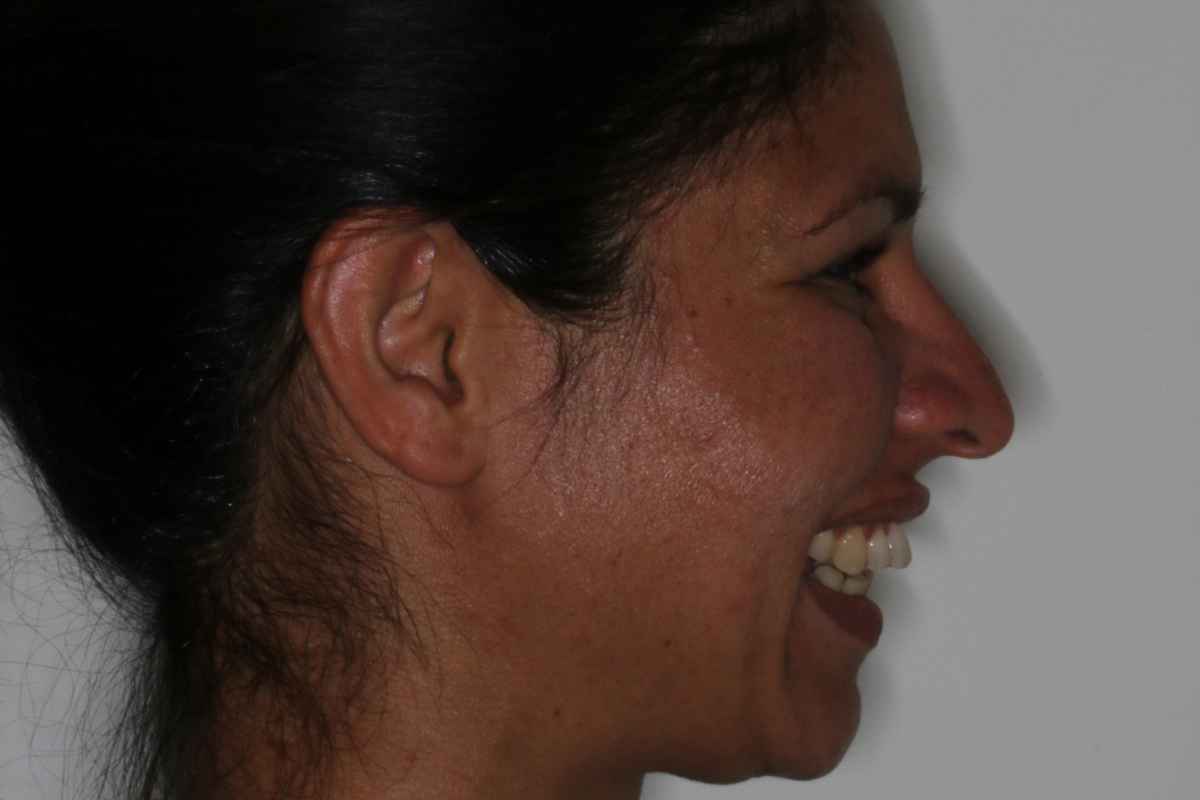
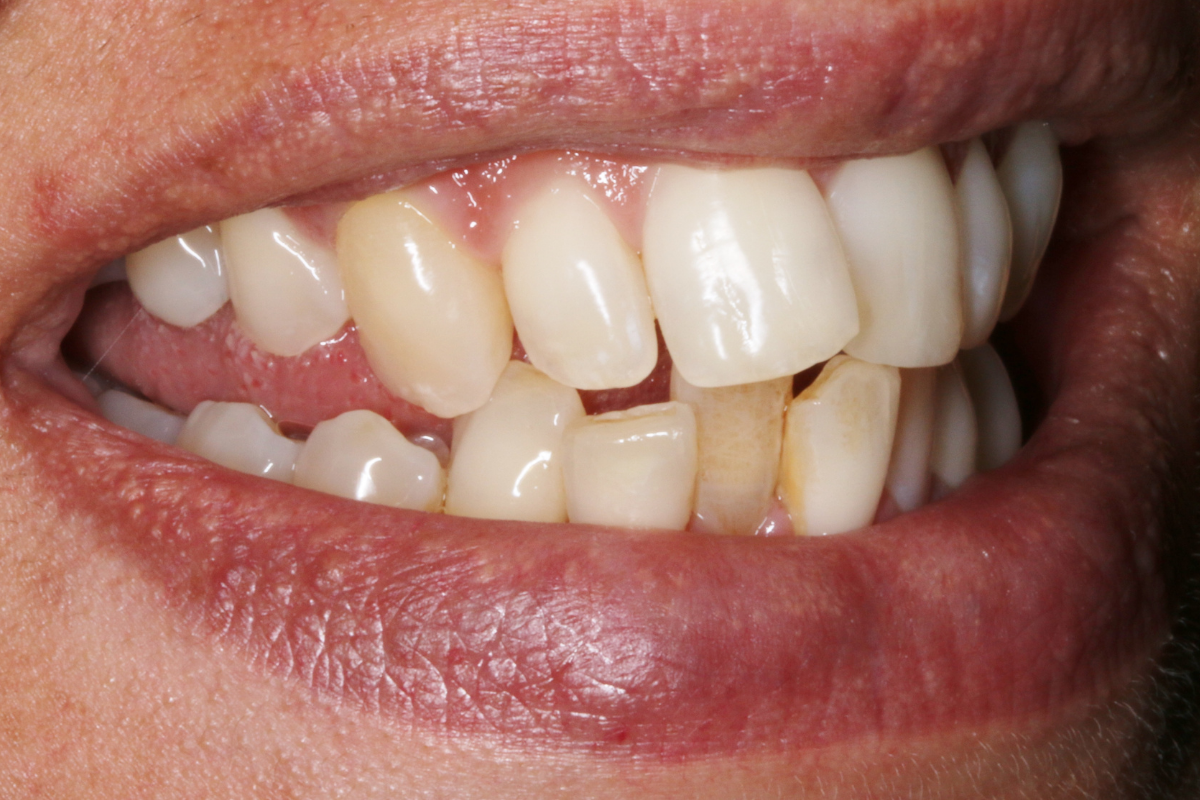
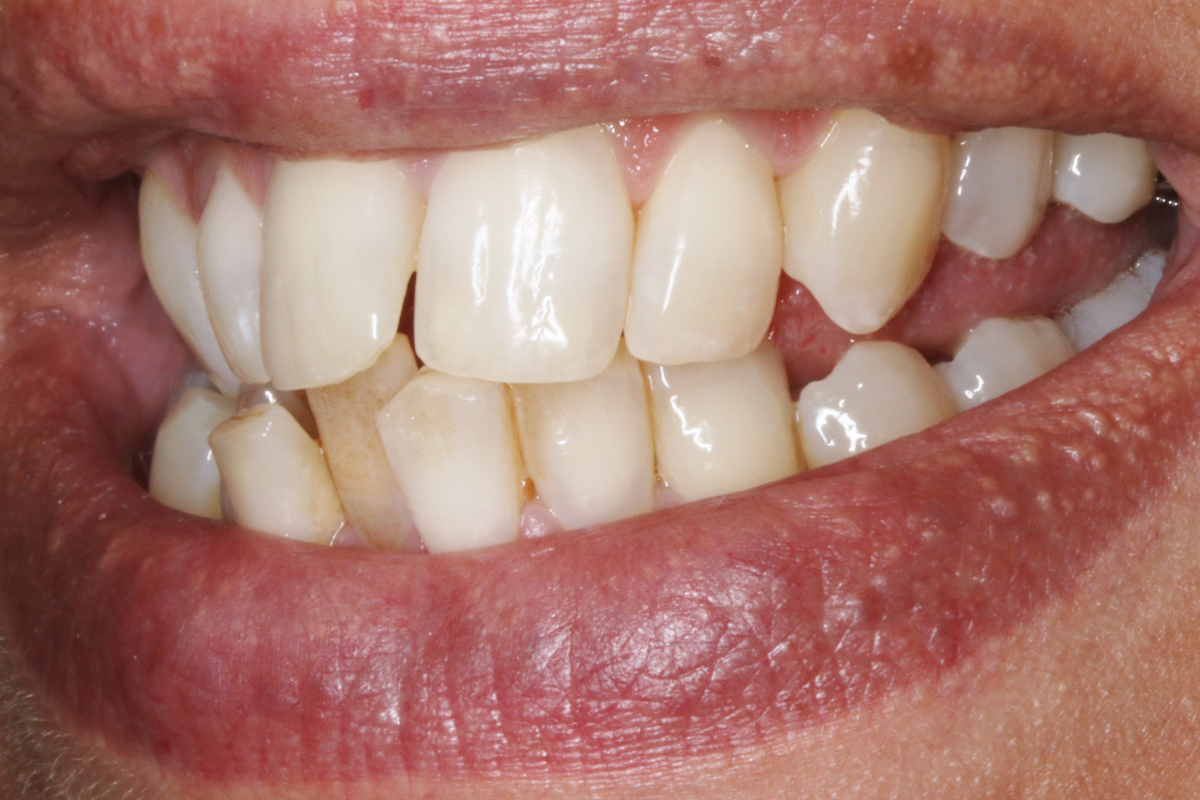
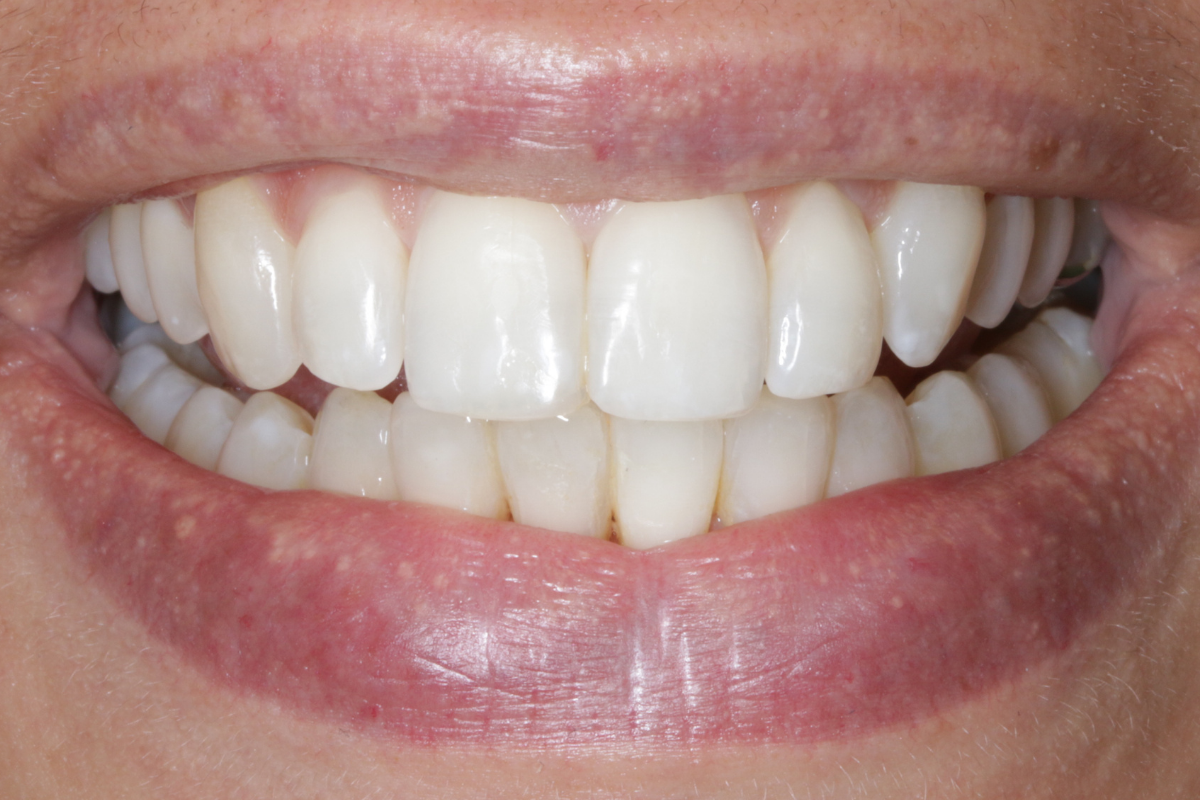
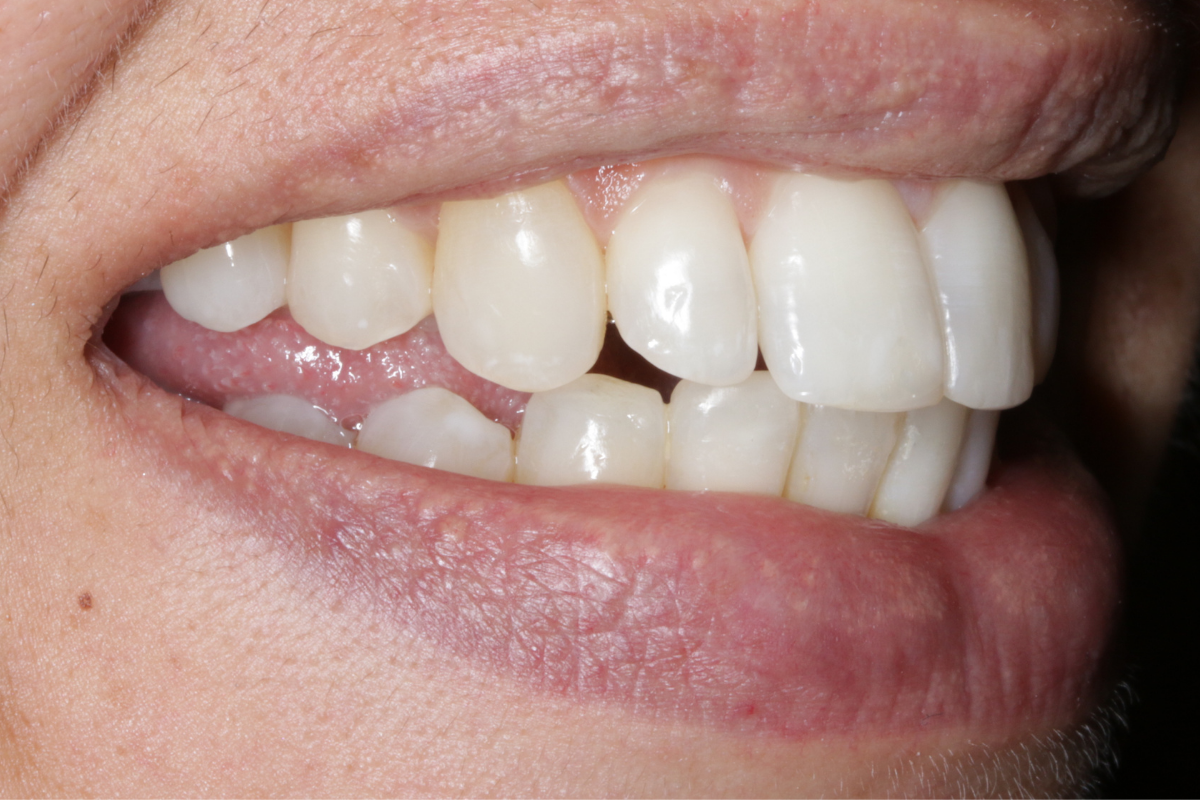
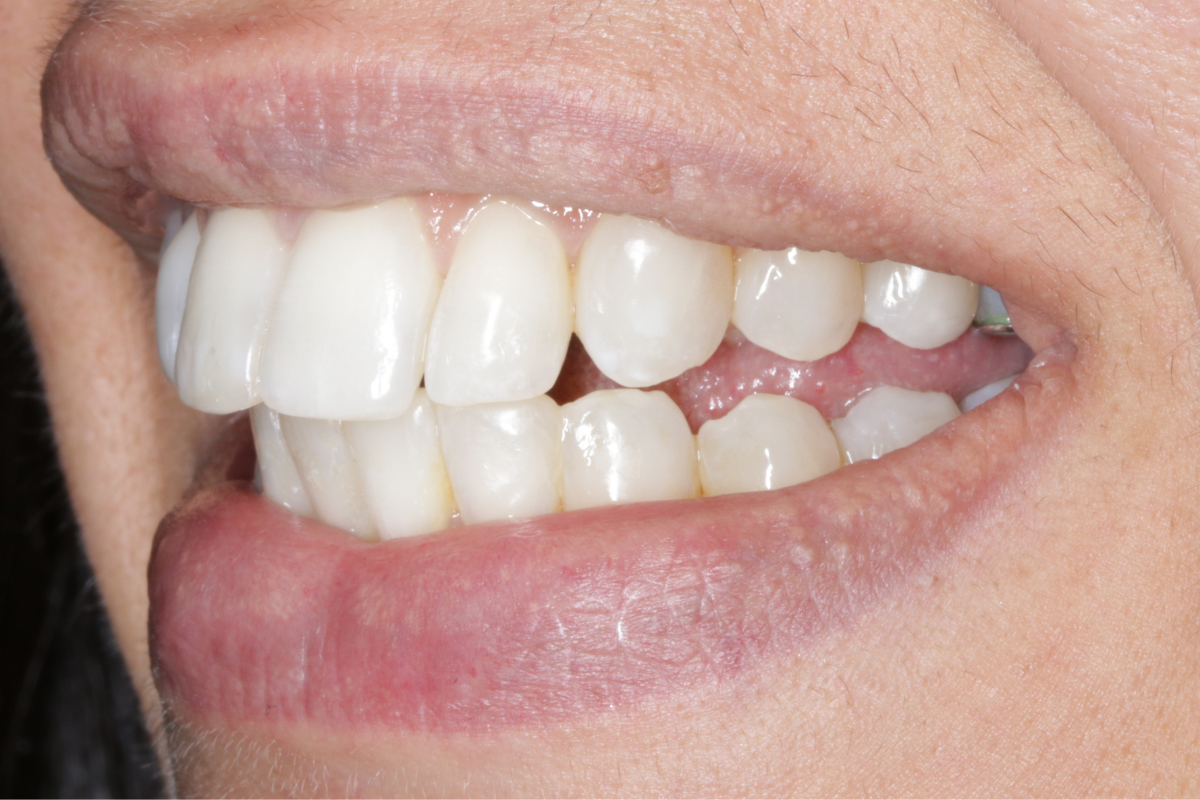
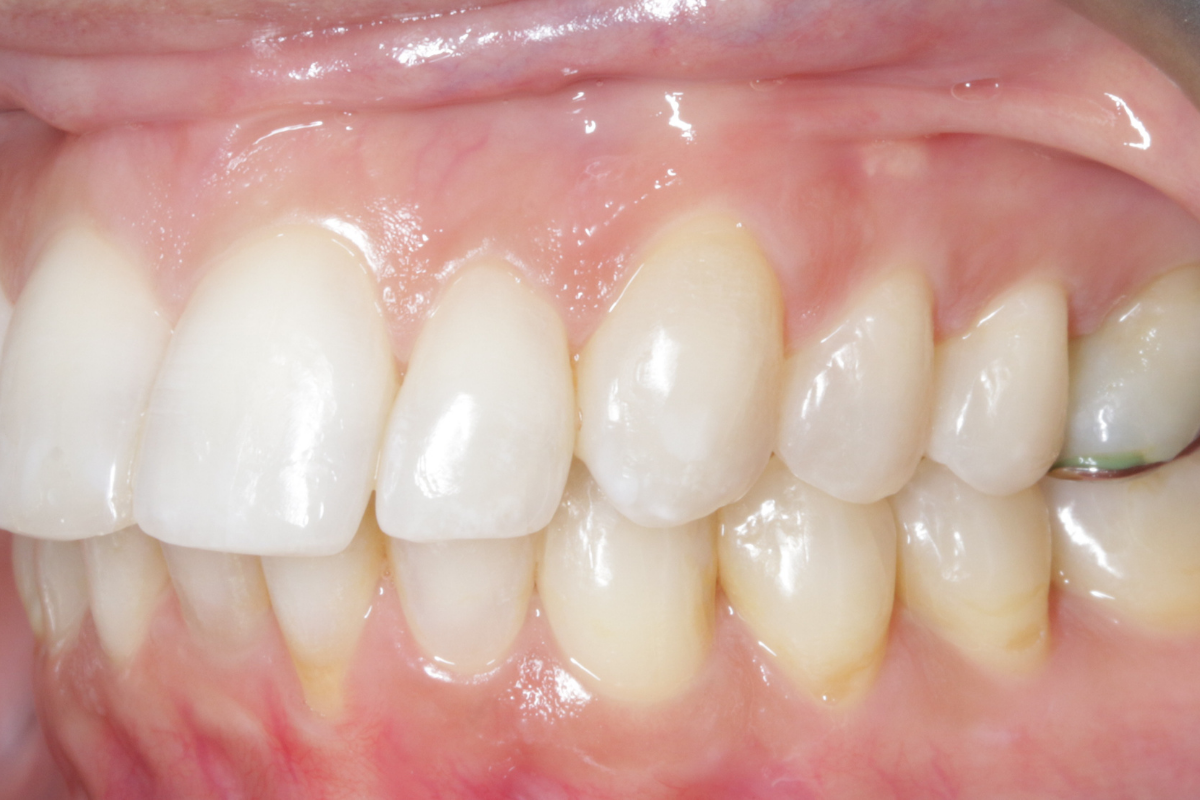
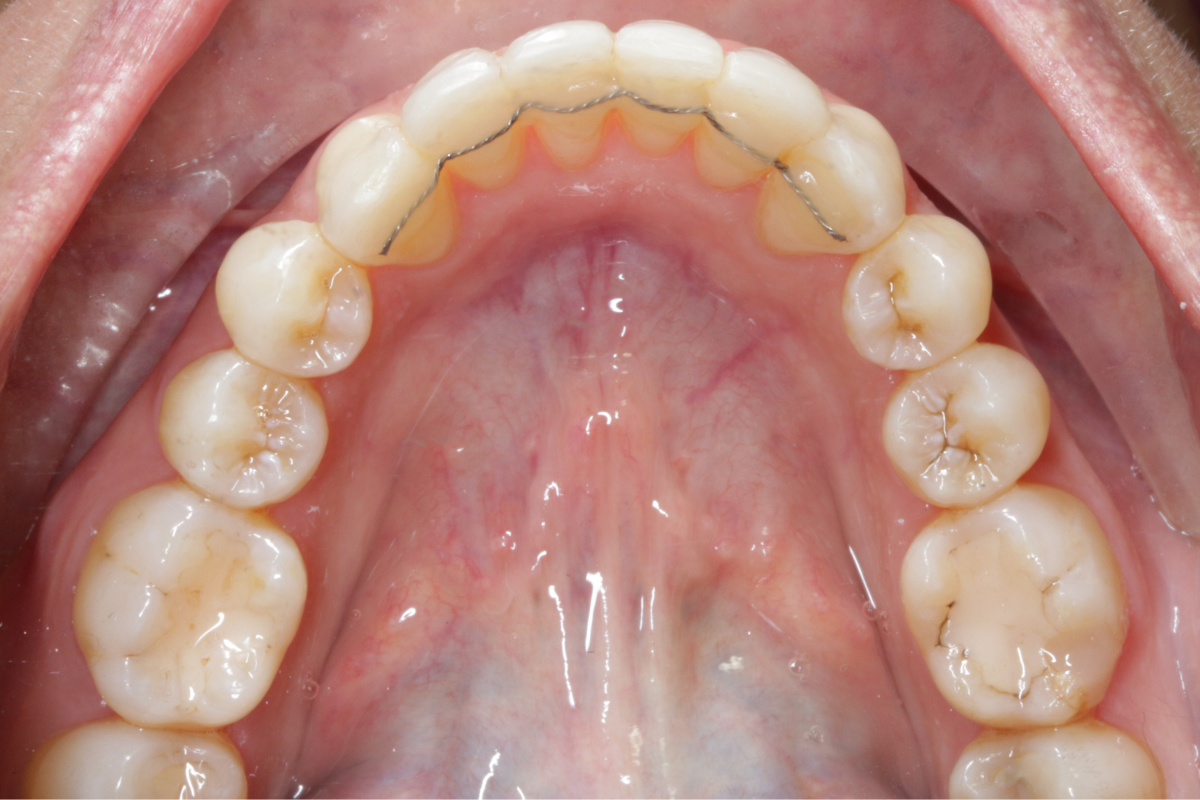
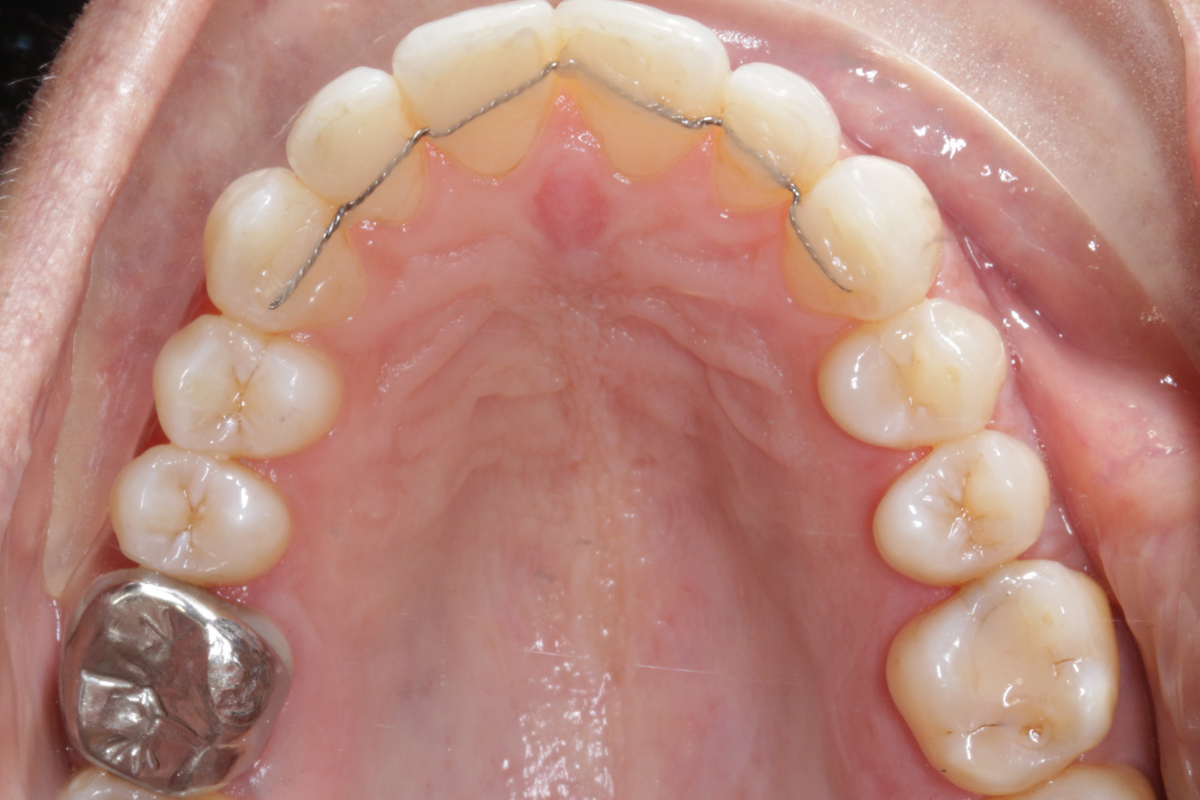
A 33-year-old female patient presented with concerns about lower crowding, which was affecting her ability to clean her teeth and her smile aesthetics.

Orthodontic Assessment

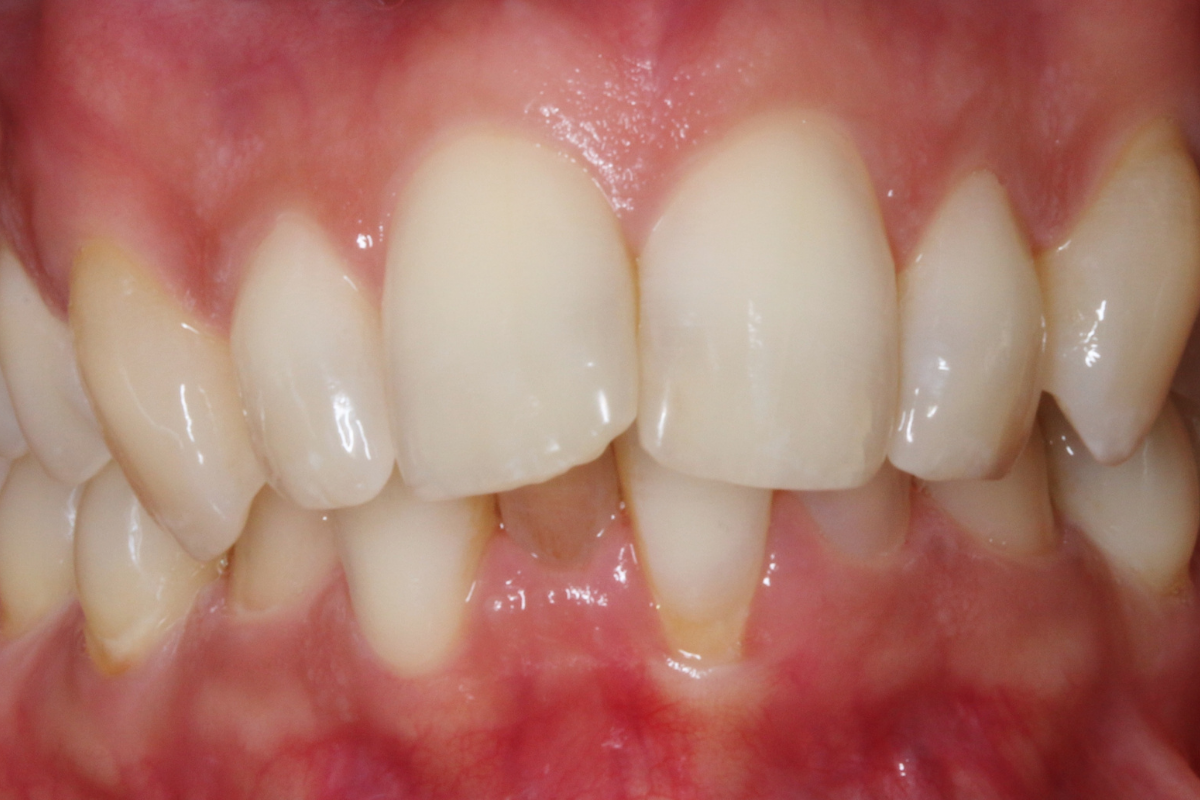
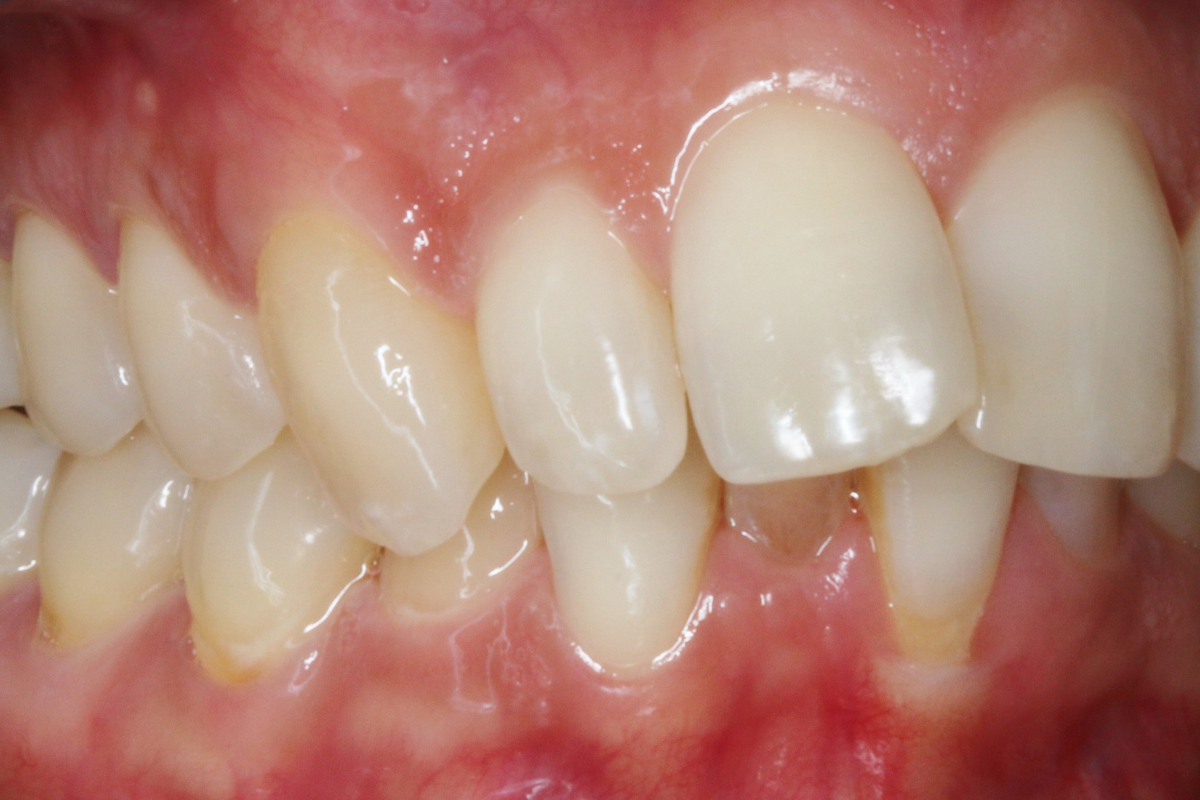
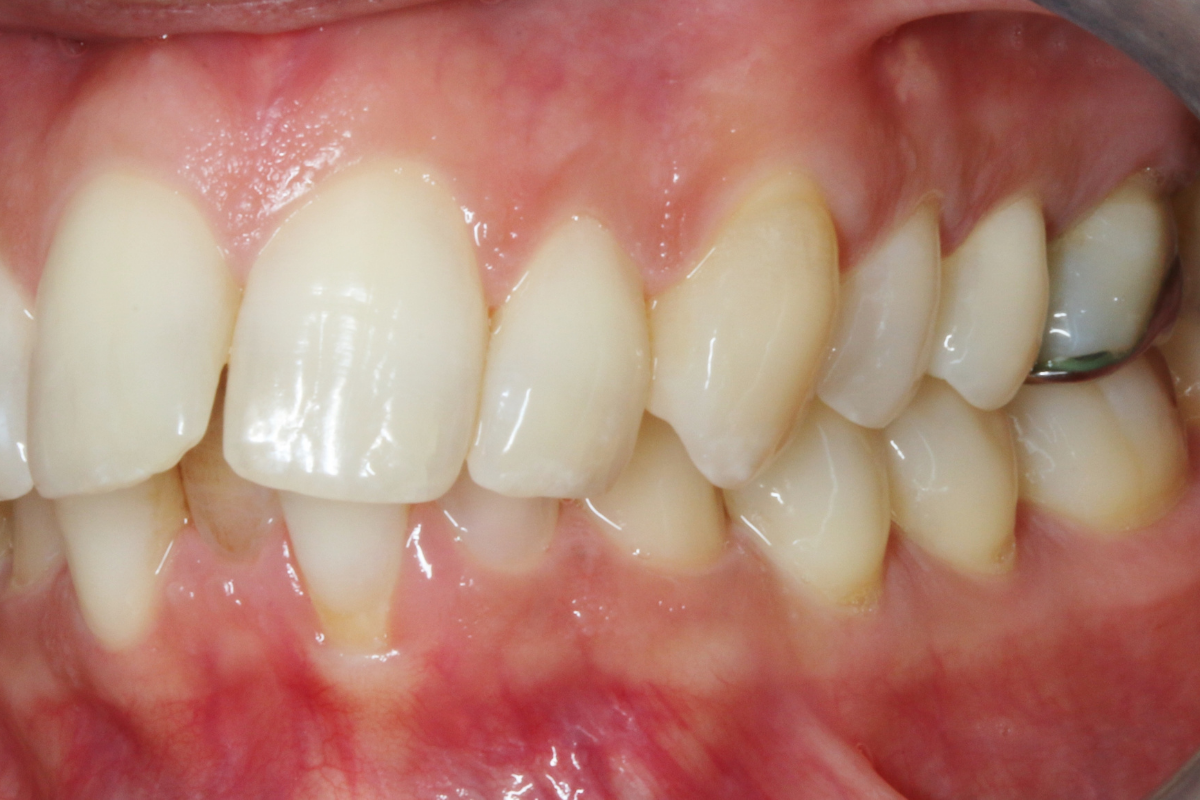
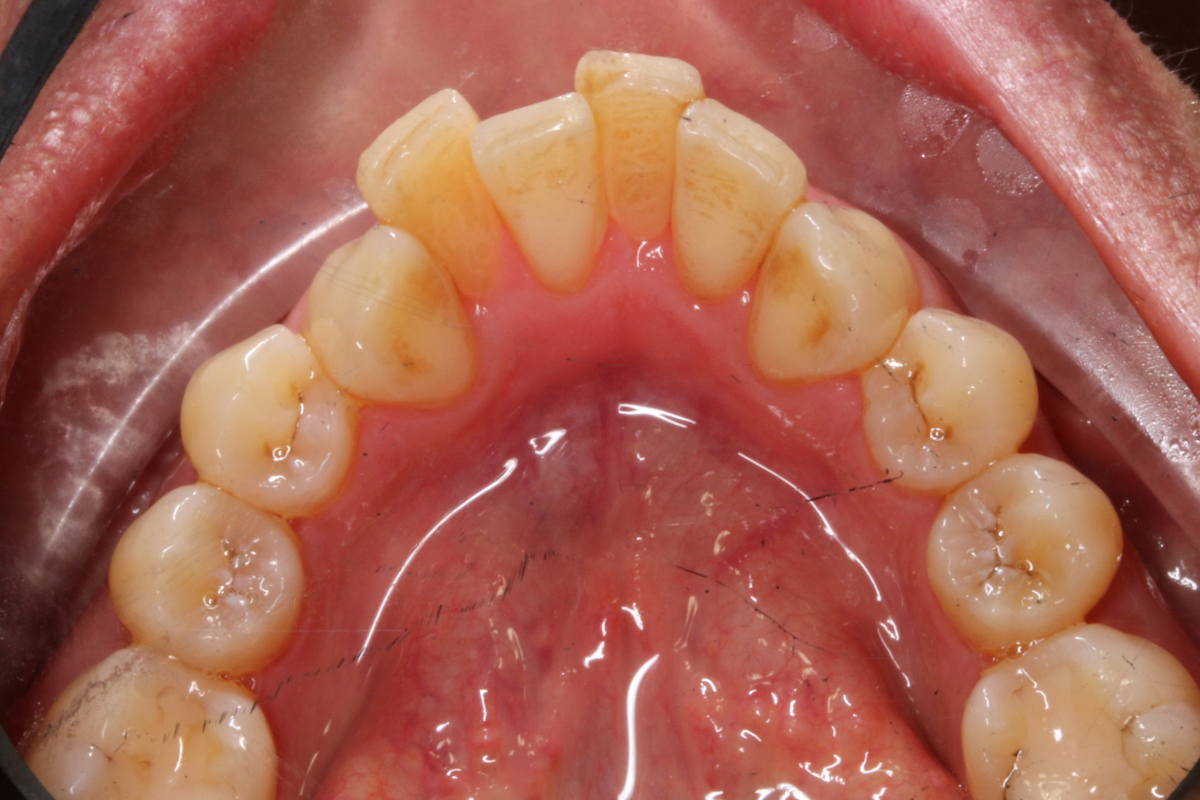
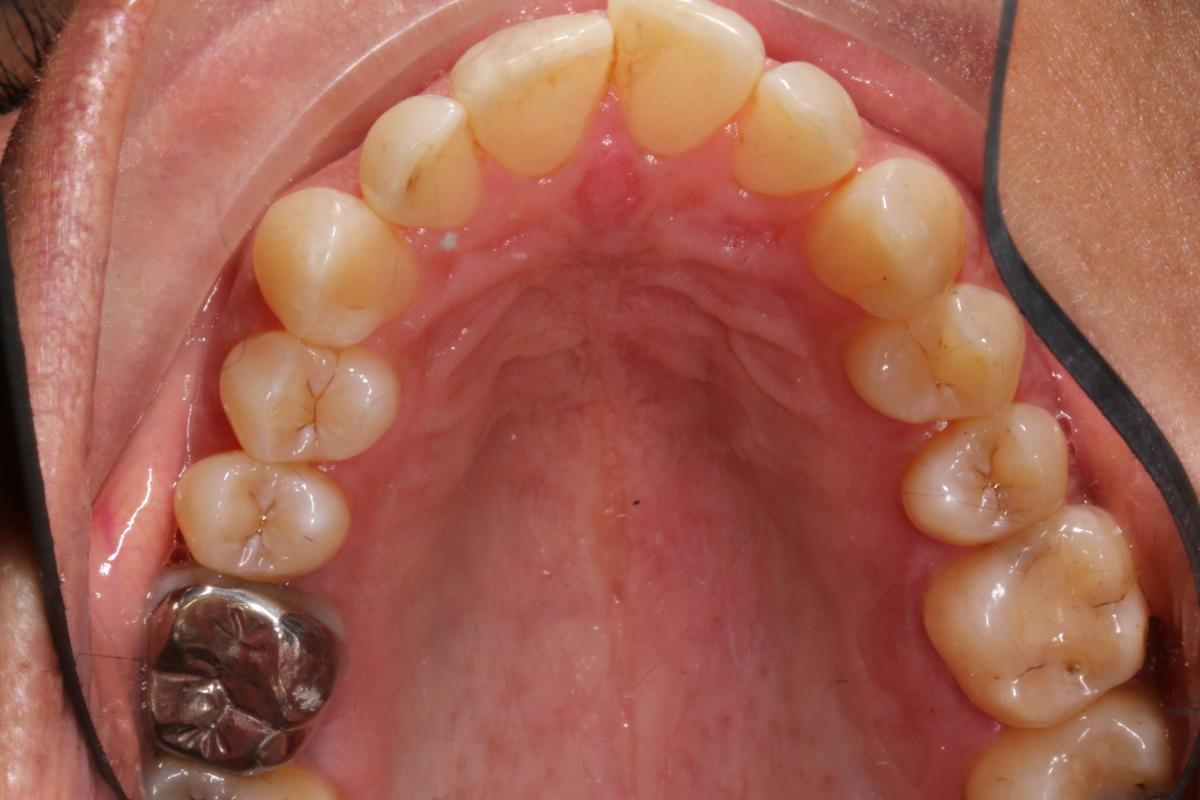
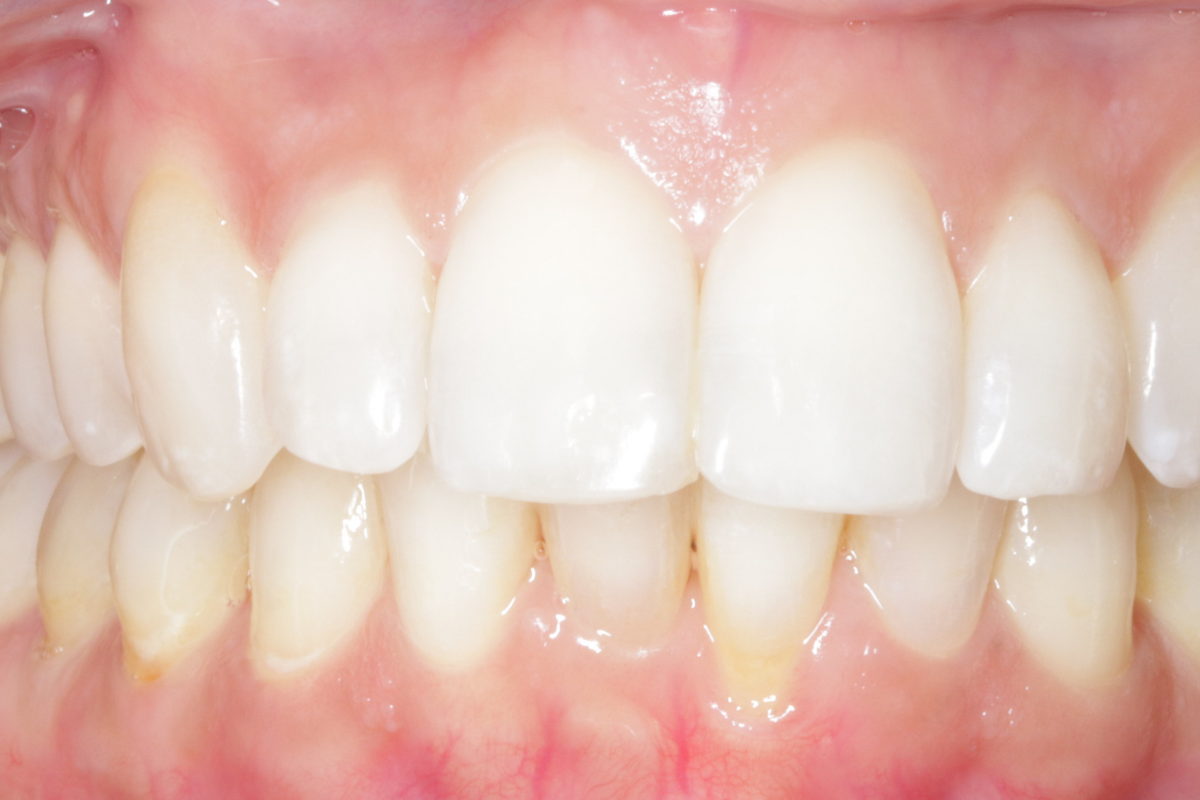
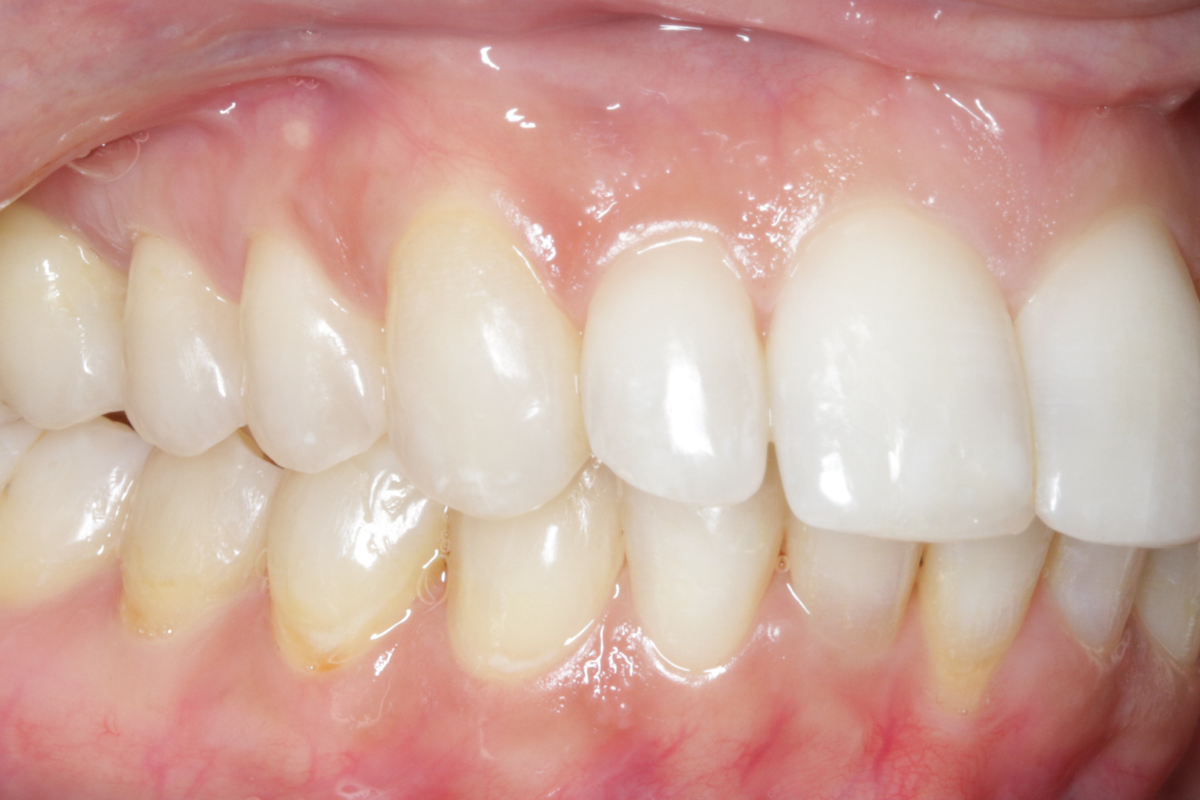
A comprehensive clinical examination was performed (Table 1), revealing a Class II Div I incisor relationship with a reduced overbite on a Class II Skeletal Base and low FMPA. Moderate lower crowding and a thin gingival biotype were recorded, along with 2mm buccal recession on the LL1.

Measurement Result
Skeletal Class II
FMPA Low
Lower Face Height Low
Facial Asymmetry None
Displacement on closure None
TMJ NAD
Soft Tissues Nasio-labial angle 90 degrees
Overjet 9.5mm
Overbite 50% overlap LL1
Crossbite None
Incisor Relationship Class II Division I
Molar relationship Right: Class II | Left: Class II
Canine relationship Right: Class ½ unit | Left: Class I
Teeth Present 87654321 | 87654321 | 12345678 | 12345678
Centrelines Upper centreline coincident, Lower centreline deviated 2mm to the right

Clinical photographs and impressions were taken for the Spacewize™+ calculation, which demonstrated 2.3mm of crowding in the upper arch and 4mm of crowding in the lower. All possible treatment options were presented and discussed in detail with the patient, though the degree of crowding indicated fixed orthodontic appliances to align effectively.

The procedure was explained to the patient, who had an opportunity to ask any questions she had to ensure her informed consent. The importance of oral hygiene throughout treatment, as well as retention following alignment, was emphasised. The ABB (Align, Bleach and Bond) concept was also presented to the patient, to ensure that we achieved the very best outcome.

Treatment

Orthodontic treatment commenced in June 2017. The patient returned to the practice roughly once a month for her progress to be reviewed, with interproximal reduction (IPR) and progressive proximal reduction (PPR) performed – and checked with the IAS gauge. At the end of every appointment, oral hygiene and dietary advice were reinforced, and fluoride varnish applied.

Appointment
1 -Upper and lower ceramic Gemini brackets bonded molar to molar, except for LR1 where lingual button was placed. - PPR mesially on LR1 and LL1, and distally on LR2 using large coarse Sof Lex discs (3M). - IPR molar to molar, upper and lower, except upper midline and UR34 using 0.1mm perforated diamond strip. -Composite biteguards placed on lower second molars. -Open coil spring placed between LR2 and LL1with powerchain around LR1 lingually to LL1.
2 (Week 4) -Upper IPR with perforated diamond strip on UR34 and UL34. - Placed 0.016NiTi wire. -Removed lower open coil spring and LR1 lingual button. -Bonded bracket to labial aspect of LR1 with jig. -IPR on LR4,5,6 and LL 4,5,6 with 0.12mm perforated diamond strip. -IPR on LR2,3 and LL2,3 using coarse Sof Lex disc (3M). -Placed 0.012NiTi wire on lower posterior"
3 (Week 8) -Upper 20x20NiTi wire placed. -Flowable composite placed distal to ends of wire to prevent flaring. -Lower IPR with perforated diamond strips distally to LL3 and Sof Lex (3M) distally to LR3. -Round, sharp mesial and distal embrasures created to facilitate alignment. -Placed 0.016NiTi wire bumper on rings.
4 (Week 11) -Lower IPR with perforated strip on LR3-LL3. -20x20 NiTi wires placed on lower arch. -Flowable composite placed distally to prevent flaring. -Upper under tie 20x20 wire on UR6-4 and UL4-6. -Powerchain placed on UR3-UL3"
5 (Week 16) -Replaced upper under tie to include canines. -IPR on UR3-UL3 with 0.01mm diamond perforated strip. -New powerchain placed on UR3-UL3. -Lower under tie placed on LR3 and LL3-6. -Lower IPR with 0.01mm perforated strip. -Lower 20x20NiTi wire placed with powerchain on LR3-LL3
6 (Week 21) -PTFE tape placed over brackets on UR6-UL6. -Cured silicone impressions taken for fixed retainer. -Planned to use two finishers for final lower alignment of LR1. -Tooth whitening 16th carbamide peroxide provided for 2 weeks’ night-use
7 (Week 24) -Debonded upper arch. -37% phosphoric acid etch (Microtech) used palatally for 30 seconds. -Venus Flowable composite (Optibond) placed on UR3-UL3. -Jig removed and occlusion checked. -Polished with Sof Lex discs (3M) and Diaglaze (Panadent). -Removed lower brackets with bracket remover and cement with white stone. -Lower silicone impressions taken for two finishers and alginate impression taken for Essix retainer until finishers were ready. -Enamelplasty contouring on UR3 edge bonding on UR1 with Essentia from GC in light enamel shade. -Upper alginate impression taken for Essix retainer
8 (2 days later) -Composite edge bonding placed on LR2-LL2 using Tif Qureshi’s reverse triangle technique and Gradia A1 dentine shade B1 enamel shade (GC). -Polished with Sof Lex discs (3M), Venus polishing rubber burs (Kulzer) and Super Diaglaze paste (Panadent). -Lower alginate impression taken for final Essix retainer
9 (2 days later) -Final Essix retainer fitted. -Final polishing of composite. -Post-operative clinical photographs taken.

Case Appraisal

I was very happy with how this case progressed, and the patient was delighted with the result. I was surprised at how quickly the power chain sling moved LR1 buccally, fortunately, causing no buccal recession. (The patient had been warned that this was possible due to her thin gingival biotype.) It was great to learn how to use this, and it increased my confidence in providing fixed anterior aesthetic alignment solutions for more patients.

I thought that I would need two clear finishers at the end to align the LR1. However, between debonding the lower brackets and fitting the temporary Essix retainer, LR1 aligned on its own.

In hindsight, I would have liked to keep the upper brackets on for another two weeks to retract the upper centrals and laterals more. However, the patient was happy, and I had been advised to debond as quickly as possible in order to reduce the risk of gingival recession given the thin biotype. I would have also placed the composite bite guards on the palatal cusp of the upper second molars rather than the lower second molars. Finally, I hope to improve my dental photography skills in order to enhance the images for my records and marketing materials.

Pre treatment
Post treatment
Pre Treatment Smile
Pre treatment Side View
Pre Treatment Right Lateral
Pre Treatment Left Lateral
Pre Treatment Anterior Retracted.
Pre Treatment Right Lateral Retracted.
Pre Treatment Left Lateral Retracted
Pre Treatment Lower Occlusal View
Pre Treatment Upper Occlusal View
Post Treatment Smile
Post Treatment Right Lateral
post treatment Left lateral
Post Treatment Retracted
Post Treatment Right Lateral Retracted
Post Treatment Left lateral Retracted
Post Treatment Lower Occlusal View
Post Treatment Upper Occlusal View